Home /Survey Data
Survey DataHelp Portal
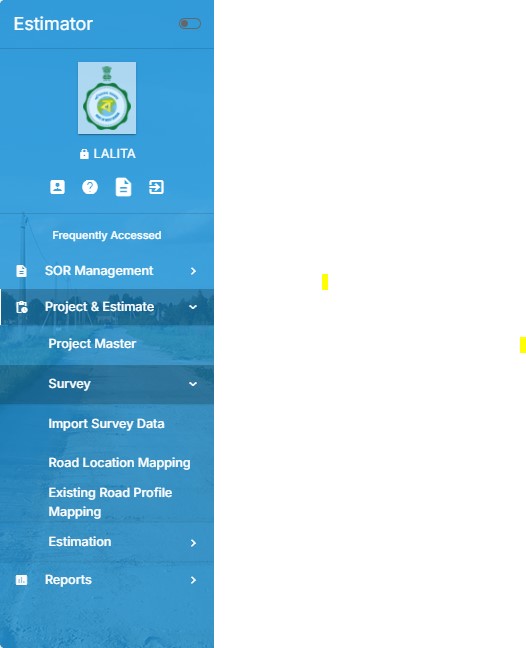
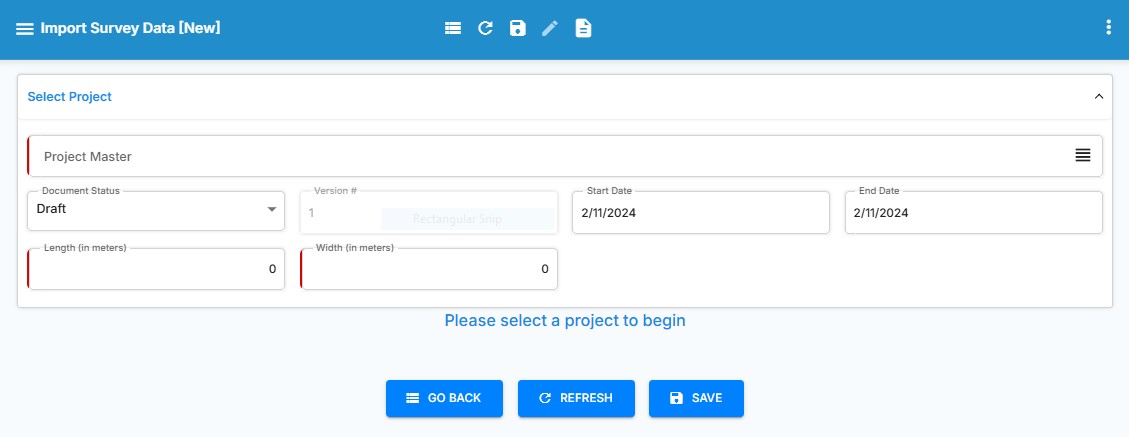
Step 1 - Open the import survey data option.
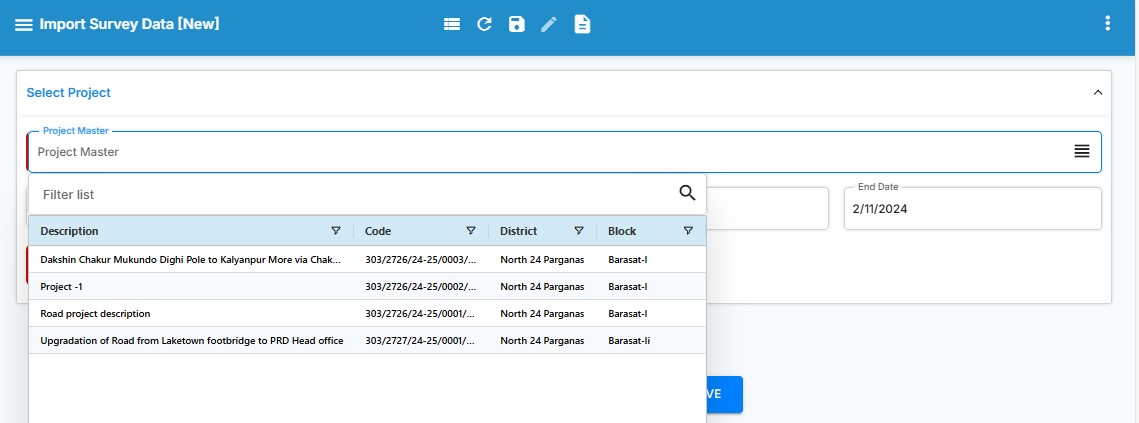
Step 2 - Select the project.
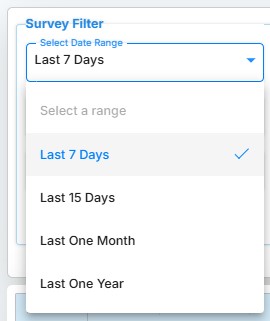
Step 3 - In the survey filter, select the date range.
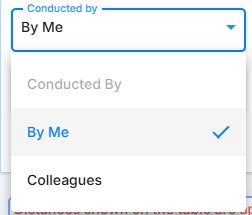
Step 4 - In the 'Conducted By' option, choose either 'By Me' or 'My Colleagues.
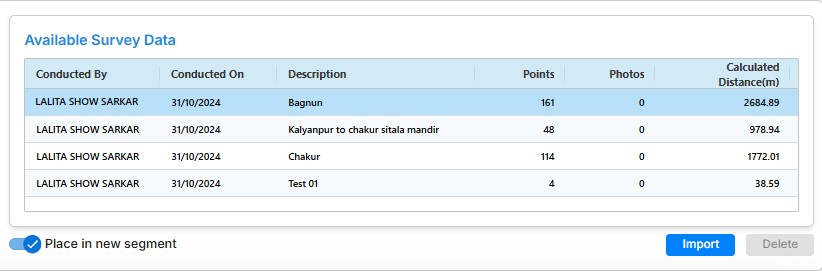
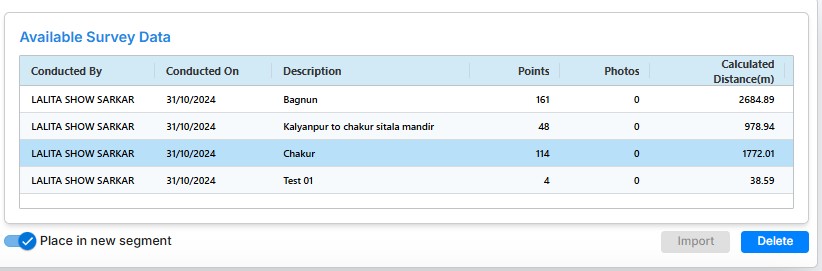
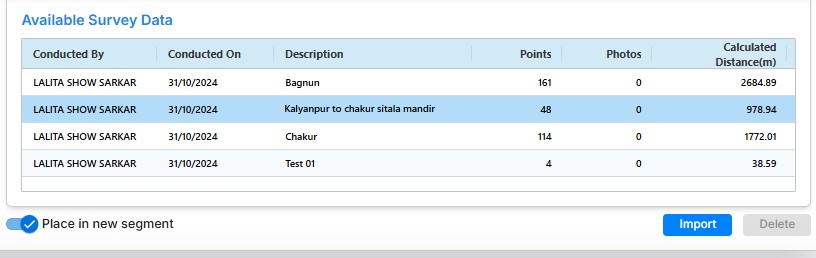
Step 5 - Select the available survey data and press the import button
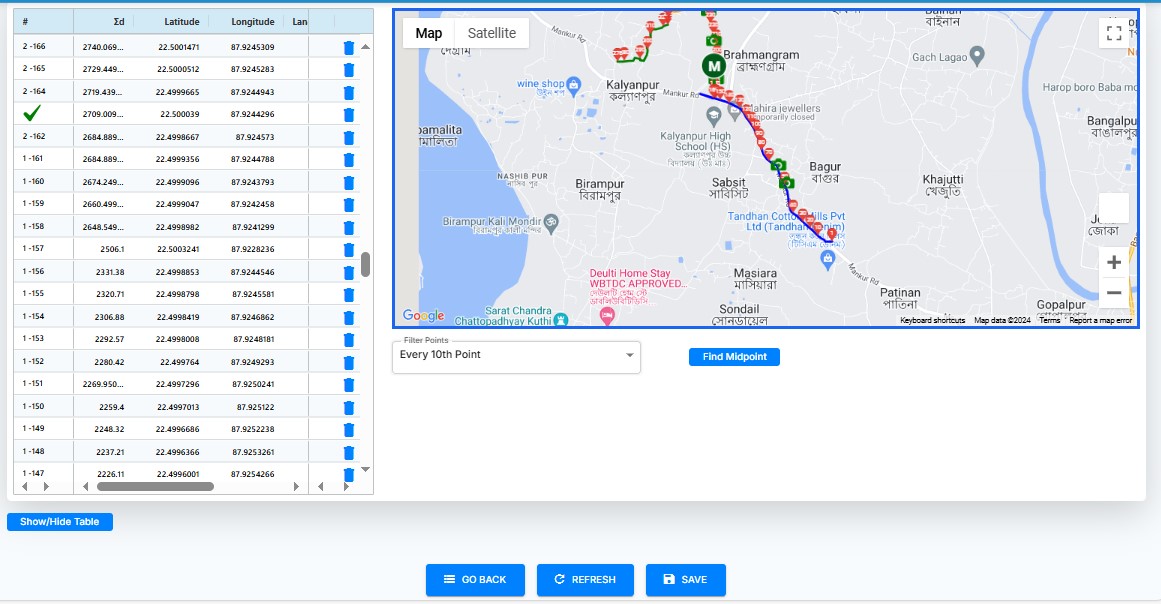
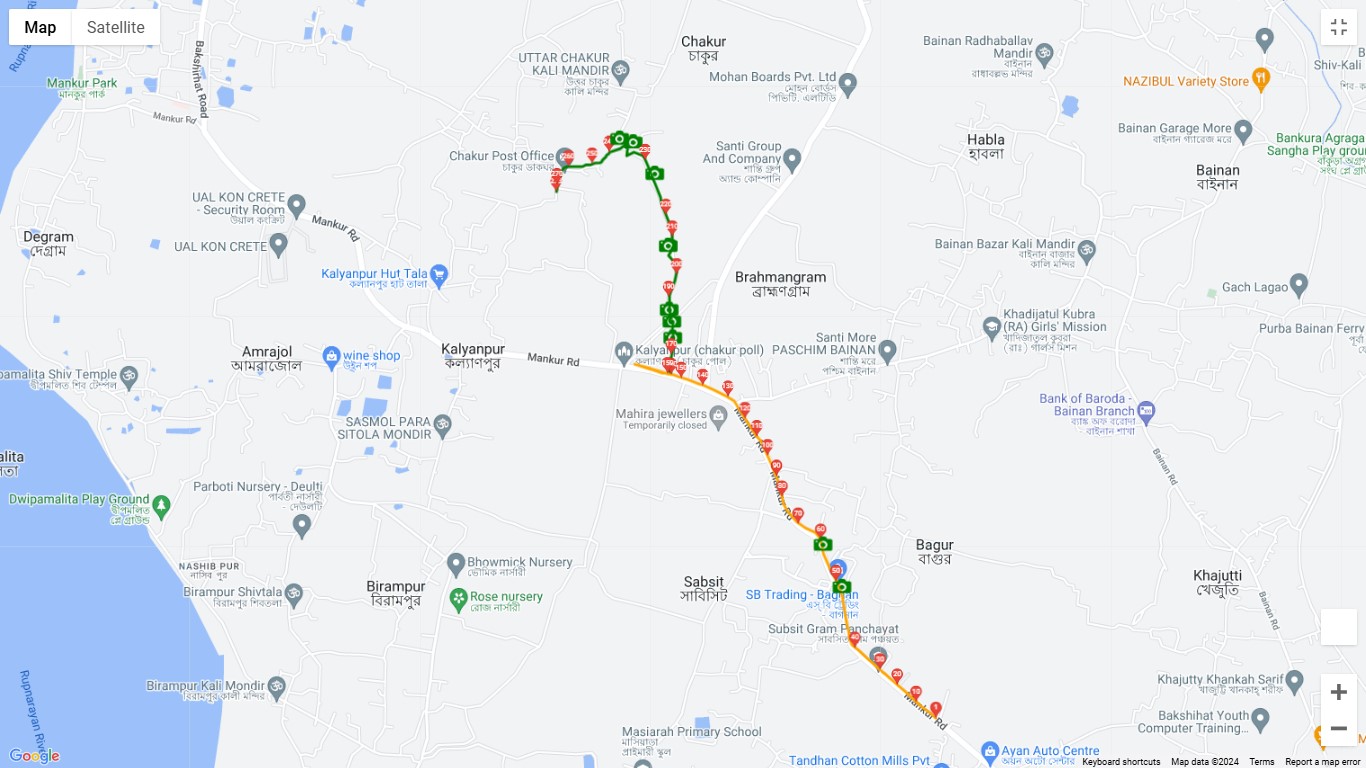
Step 6 - Display the captured points in the table and also show a map view
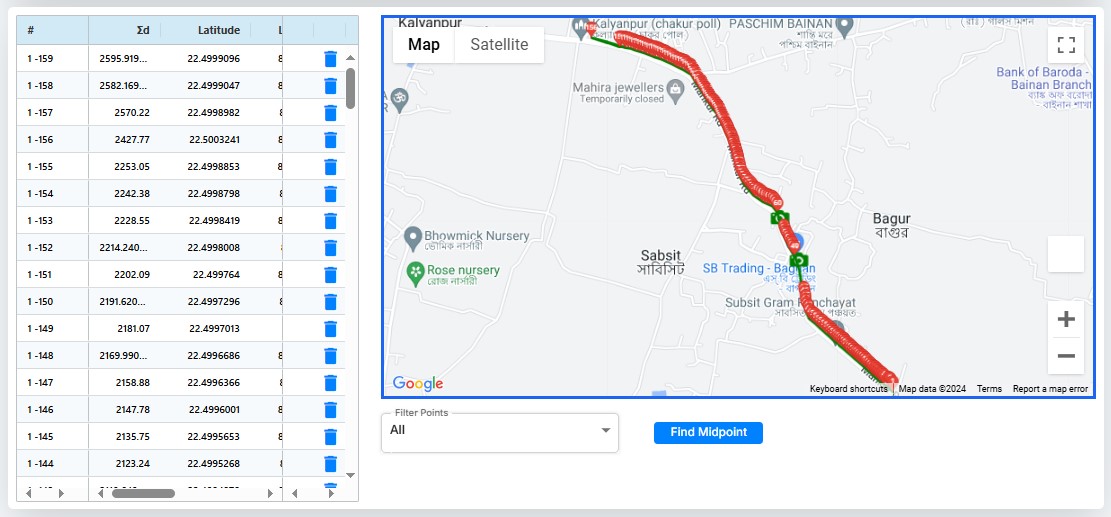
Step 7 - The arrangement of captured points can be modified according to the user's preference.
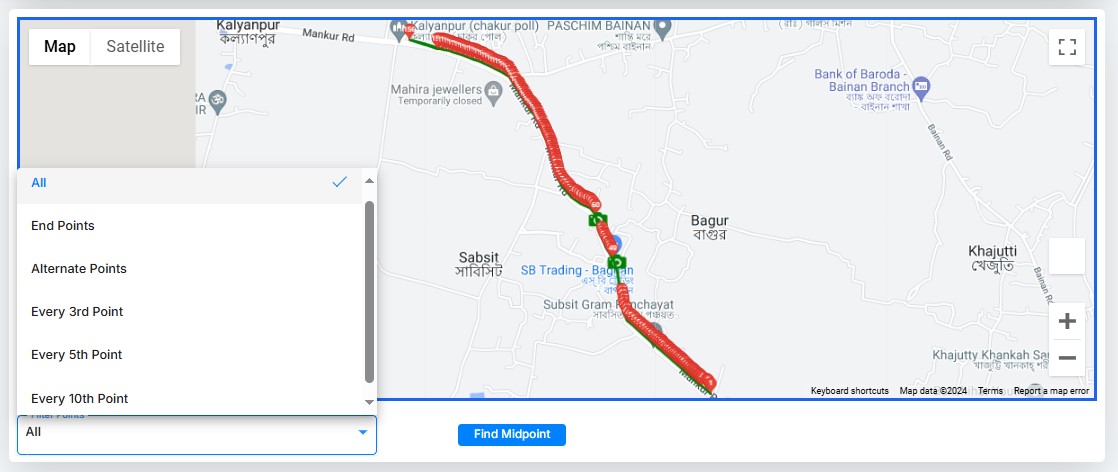
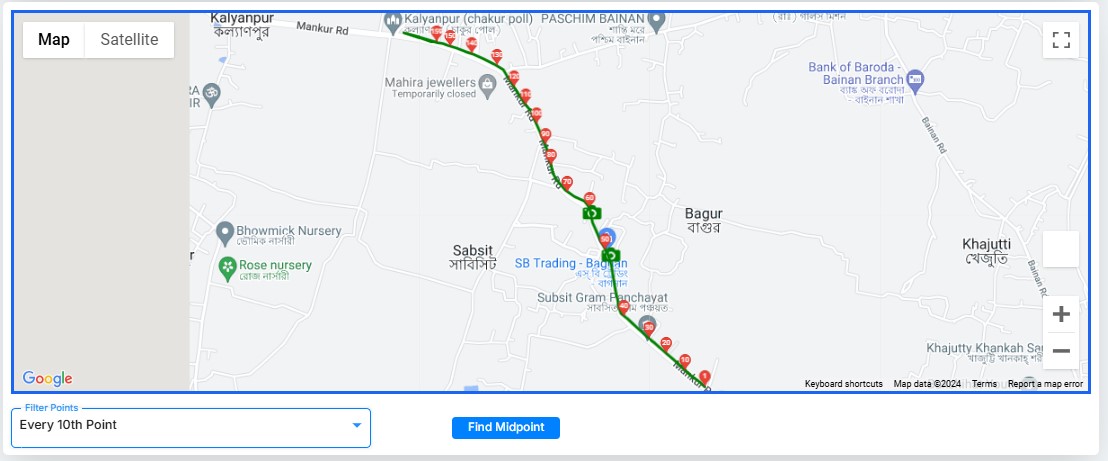
Step 8 - Filter points to display every 10th point.
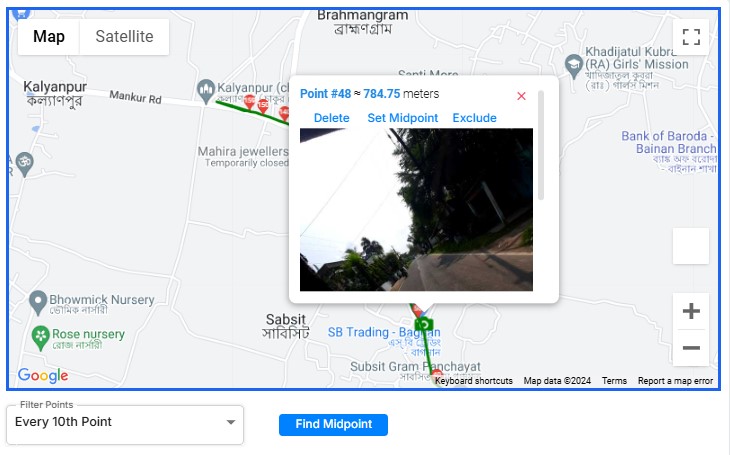
Step 9 - Click on the camera icon to view the captured picture.
Add another road survey data to the existing road survey data. Select the second survey of the same road and import it
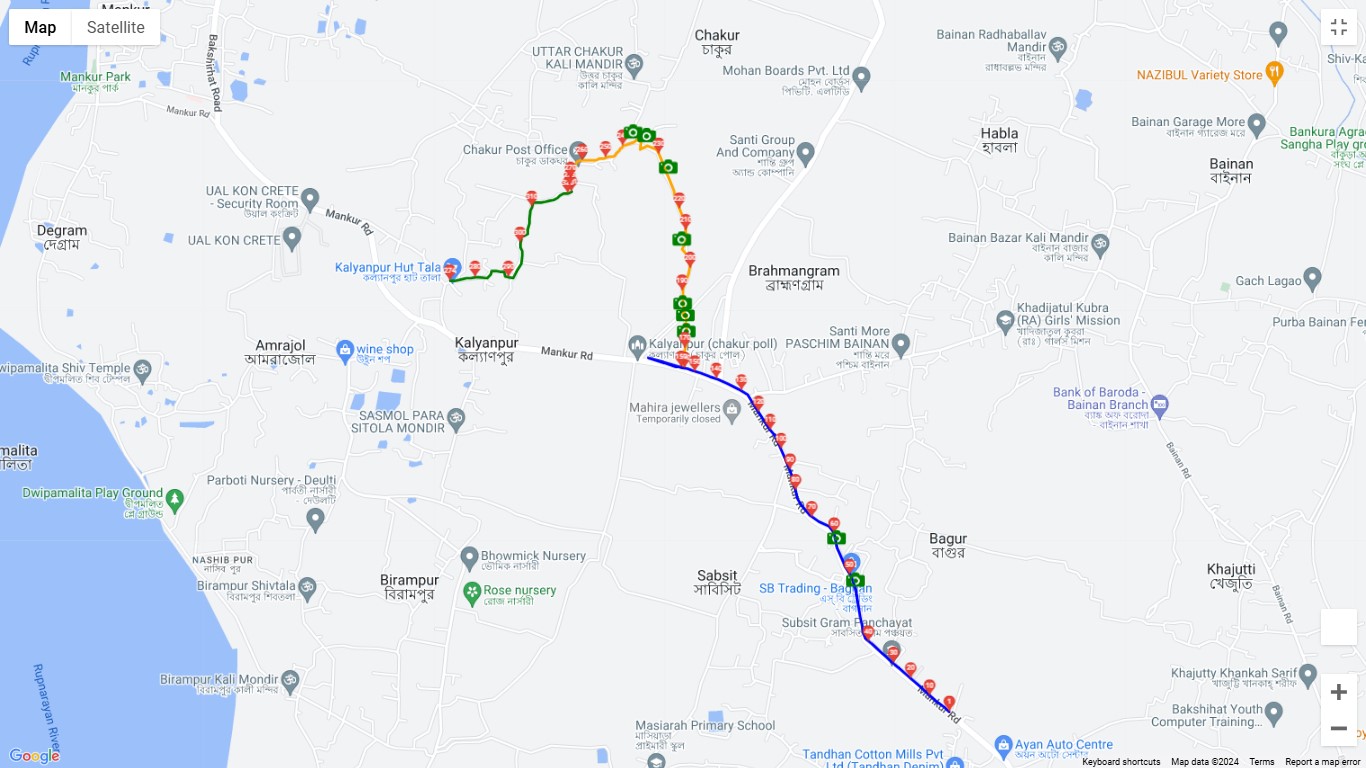
Step 10 - First, select the Bagnun road survey data, then choose the Chakur road survey data. Both road surveys will appear in the table below in different colors.
Step 11 - Two different road surveys have been added.
Step 12 - Add the third road survey to the existing road survey. Select the survey data and import it.
Step 13 - Add three different surveys to a single road profile, each displayed in a different color.
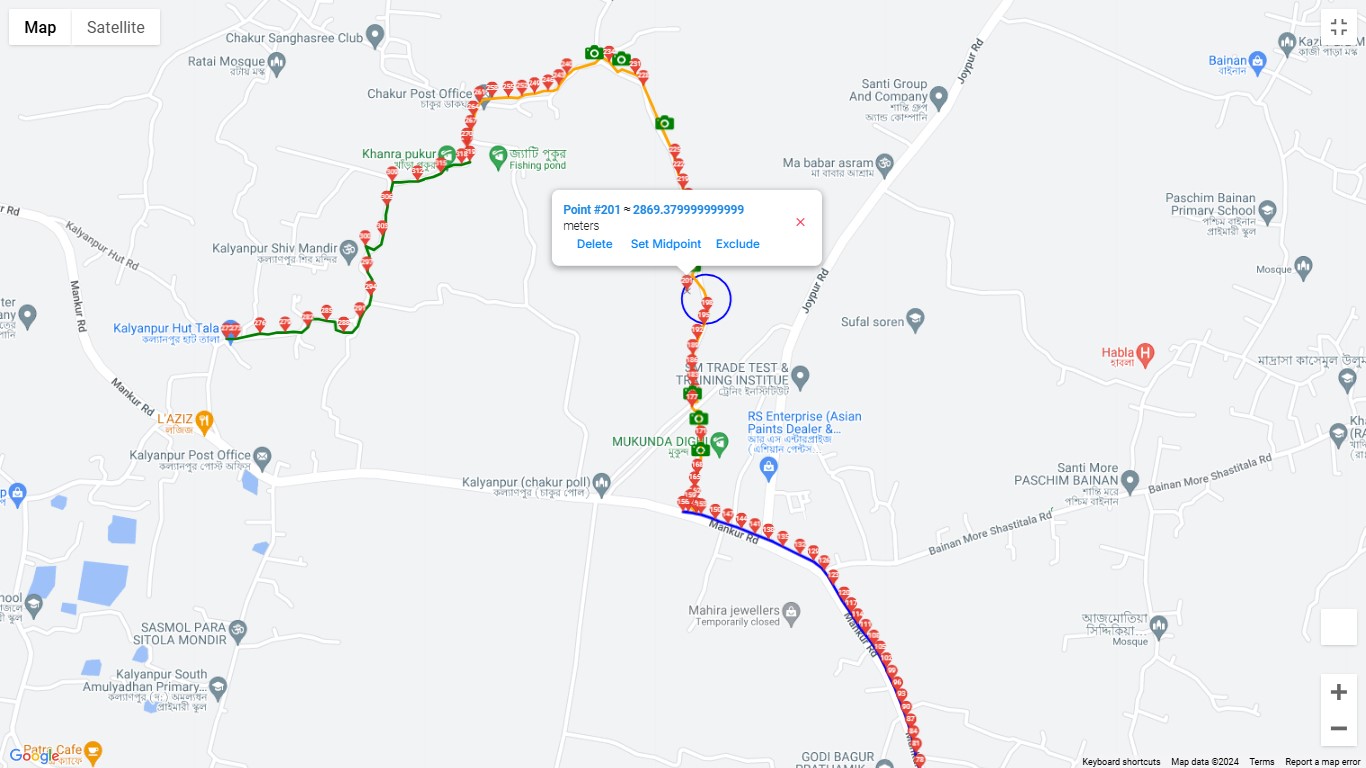
Step 14 - Right-click on any point to delete it, set the midpoint manually, or exclude the point.
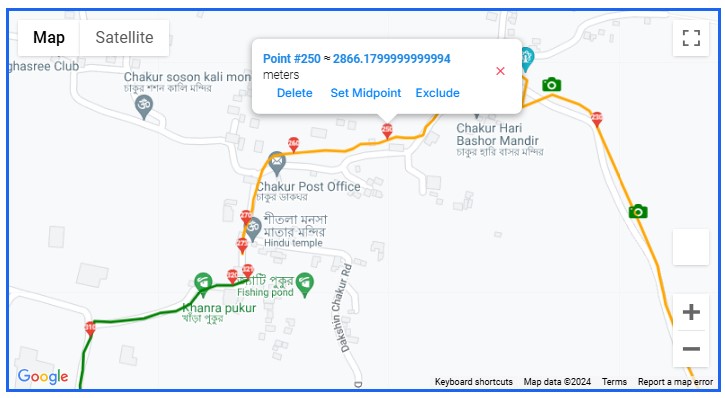
Step 15 - If any point is off the track, you can select it and adjust its position within the blue circle to place it accurately
Step 16 - Select the 'MIDPOINT' button to choose the midpoint of the road. The midpoint will be automatically selected at the halfway point of the road..
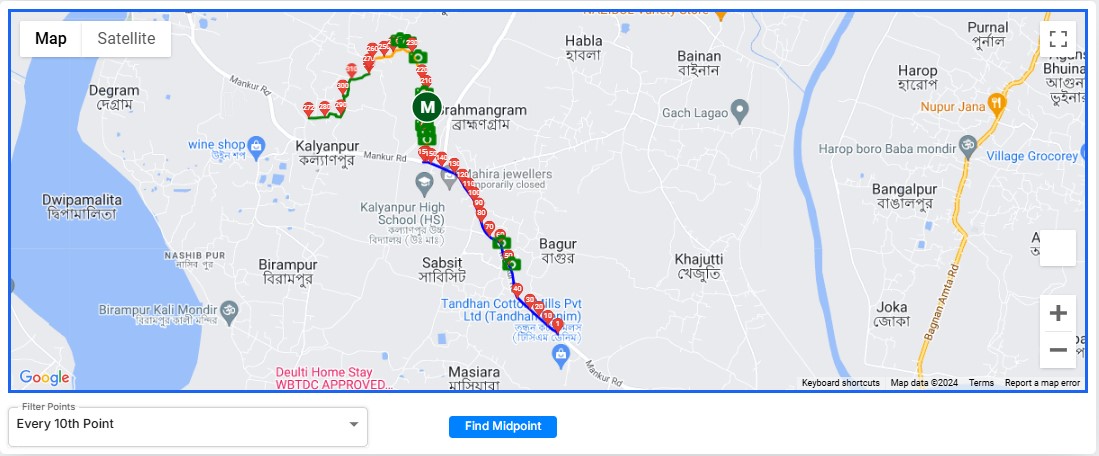
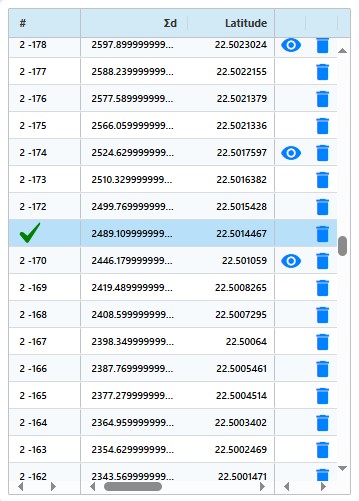
Step 17 - The automatically selected midpoint appears in the table..
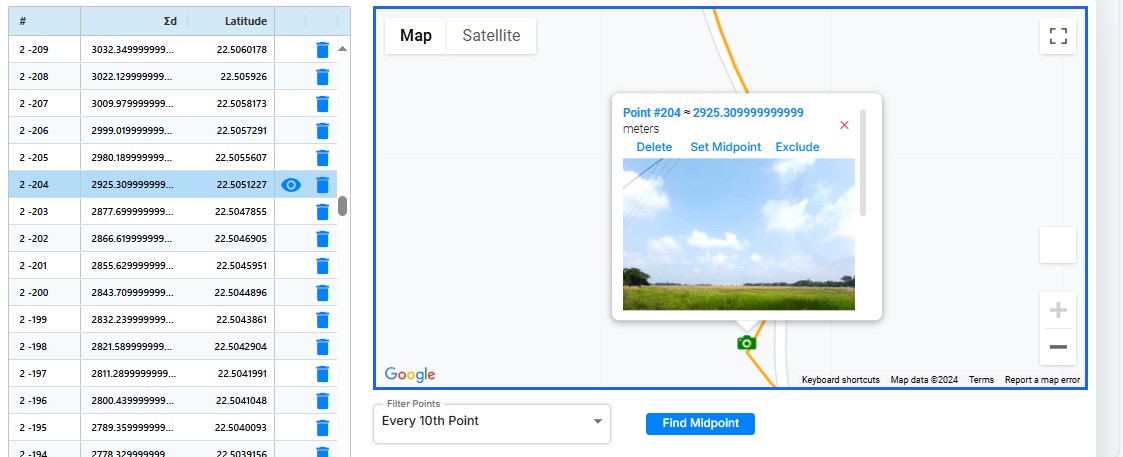
Step 18 - If a point has a picture, an eye icon will appear in the table view and click the camera button on MAP View to open and view the picture.
Step 19 - Save the imported survey data.