Home /Road Location Survey
Road Location SurveyHelp Portal
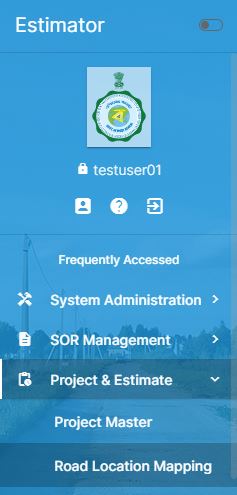
Road Location Mapping
This project involves capturing road alignment data using both manual and automated methods. The key tasks include photographing the road, and recording latitude and longitude coordinates to accurately map the road's location and alignment. The goal is to create a comprehensive and precise road location map for analysis and planning purposes.
Project & Estimate Road Location Mapping
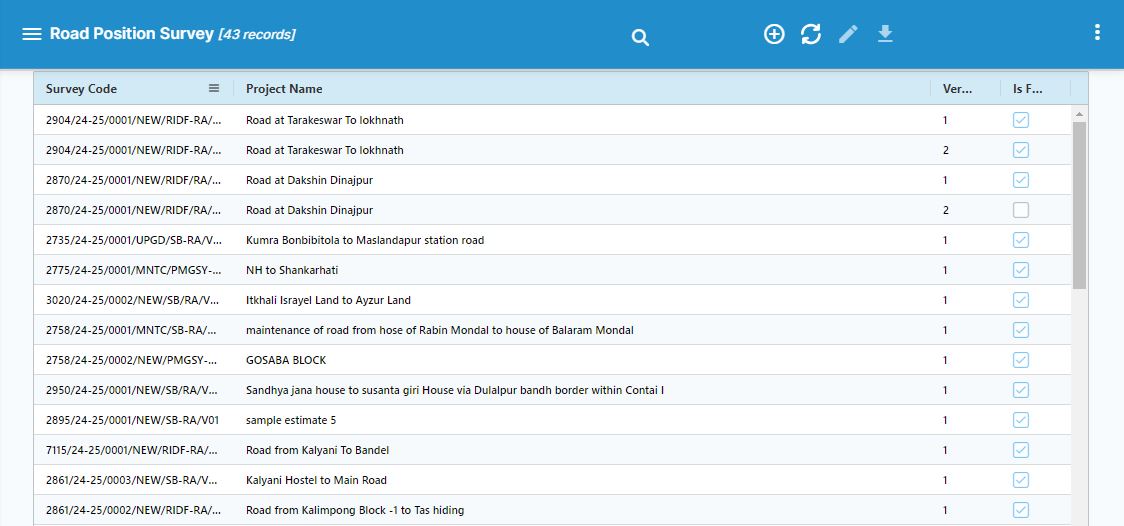
Road Position Survey List
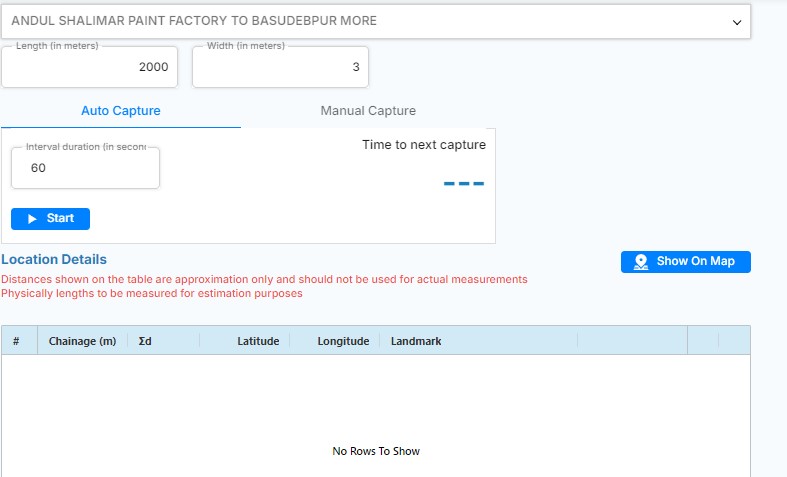
New Road Survey Capturing Screen
The New Road Survey Capturing screen is designed to facilitate efficient and accurate data collection during road surveys. Open the browser in your hand set and collection the data. Here's how it works:
1. Automatic Capture Point and Distance:
- As you move along the road, the system automatically captures your current location's GPS coordinates (latitude and longitude).
- It also calculates and records the distance from the last captured point to the present point, ensuring continuous and precise tracking of the road alignment from Start point to End point.
2. Manual Capture Photo, Point and Distance:
- While the system automates the data collection for points and distances, as well as collection for points and distances & capturing photos is done manually.
- To take a picture of the road or any relevant feature, simply click a designated button [Take Photo] on your phone screen.
This combination of automated and manual processes ensures a comprehensive and accurate road survey, with both geospatial data and visual documentation.
Road Survey Add new
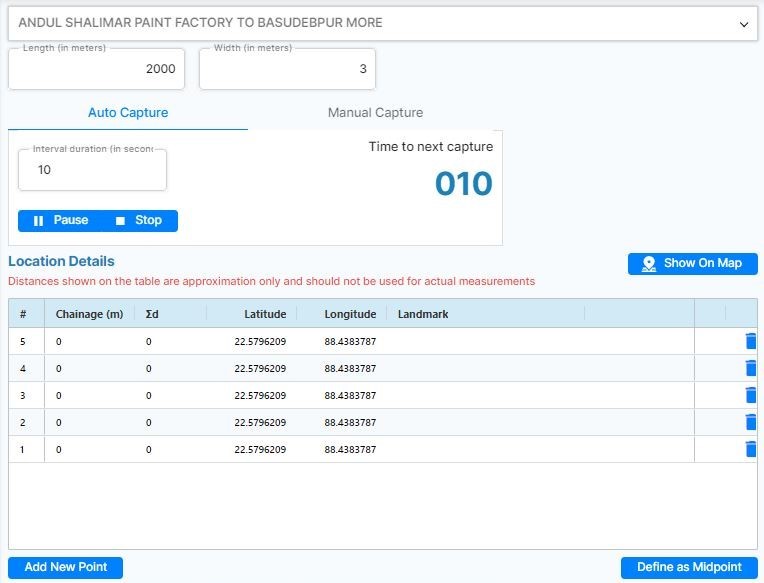
Auto Capturing Screen: Interval duration is for Auto Capturing from minimum 10 and maximum 600 seconds.
In the Manual Capture screen for a road survey, users can:
- Take Photo: Capture images of specific points on the road. This feature allows users to visually document key locations, conditions, or features encountered during the survey.
- Get Location: Record the exact GPS coordinates of the location where the photo is taken. This ensures that each captured image is accurately linked to its geographical position, providing precise data for the survey.
These functions help in creating a detailed and georeferenced record of the road survey.
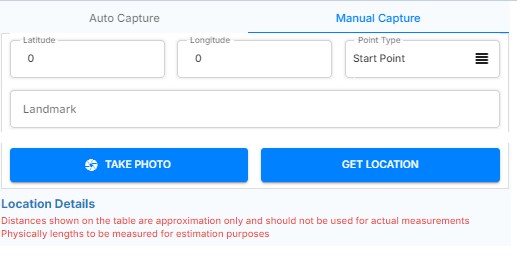
For a Manual Capture in a road survey, the process involves the following:
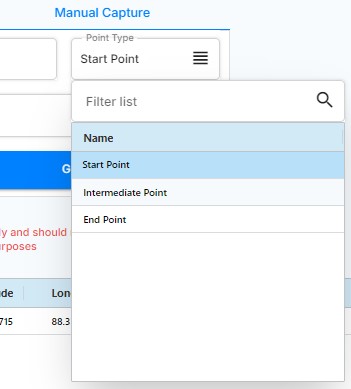
- Start Point: This is the exact location where the road survey begins. It could be a specific marker, junction, or any identifiable point on the road that serves as the starting reference for the survey.
- Intermediate Point(s): These points are set at various critical locations along the road being surveyed. They could include intersections, curves, changes in road conditions, or any other significant features that need to be captured. These points help in detailing the survey by breaking down the road into manageable sections, ensuring that all relevant data is recorded.
- End Point: This is the final location where the road survey concludes. It marks the endpoint of the captured data, which could be the end of the road, a major intersection, or another significant marker that indicates the completion of the survey.
By defining these points manually, the surveyor can accurately map out the road and capture all necessary details, ensuring a thorough and precise survey.
For manual capture Filter list option are choose
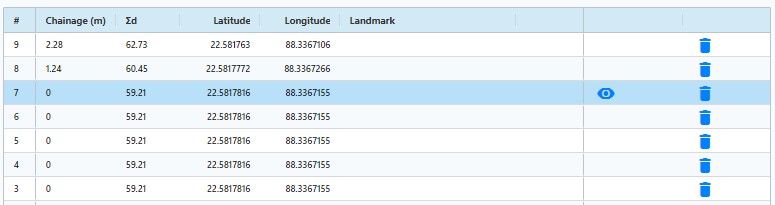
When manually capturing picture of the road then eye option enable.
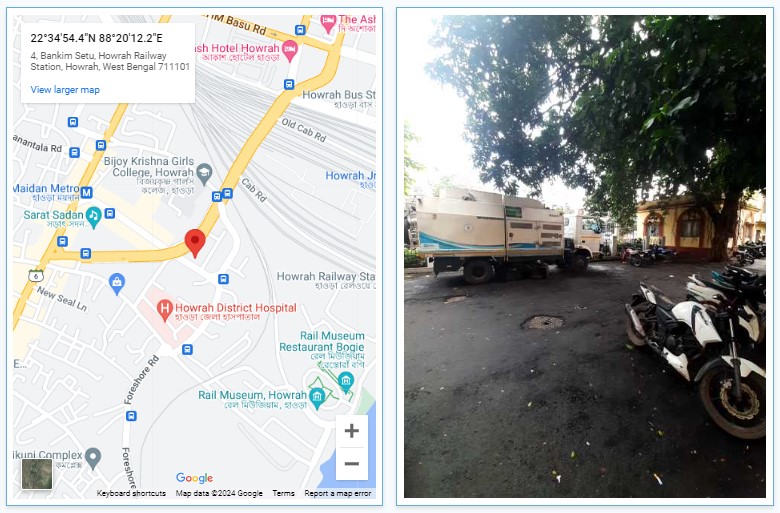
Example of Manually Take Photo and Get Location
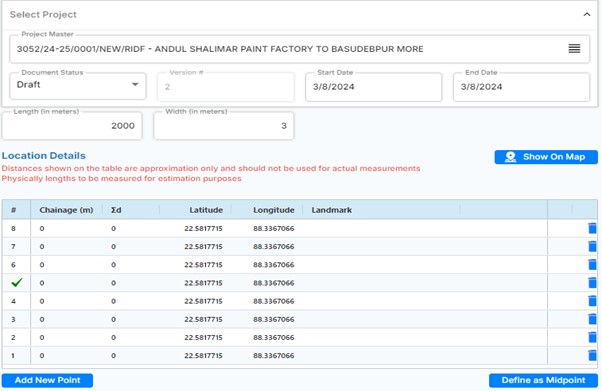
Define Midpoint :
To define a midpoint, follow these steps:
- Select a Row: Click on the row you want to define the midpoint for.
- Click Midpoint Button: After selecting the row, click the "Midpoint" button.
o Alternatively, you can double-click on the row to automatically define the midpoint.
This process ensures that a midpoint is set for the selected row, aiding in accurate mapping and alignment.